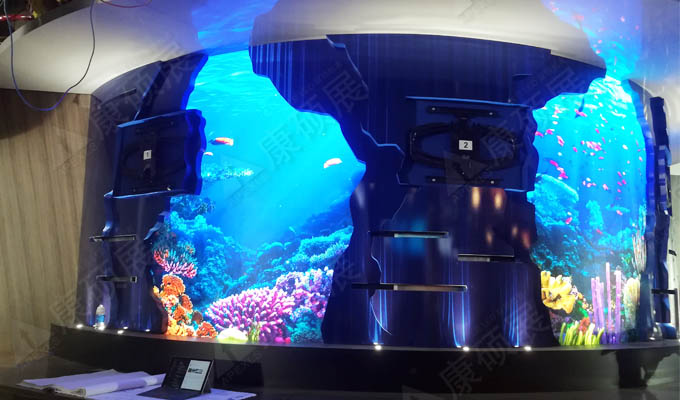
LED shaped screen with creative shape and display effect, attract people's attention, like the common spherical screen, curved screen, column, etc., all belong to the shaped screen. There are mainly the following steps to build a shaped LED screen:
1. Design and measurement
Demand communication and program design: Communicate fully with the customer to understand its demand for the use of shaped LED screen, installation environment, desired effect and other information. According to this information, preliminary program design is carried out to determine the shape, size, pixel pitch, brightness and other parameters of the shaped screen. For example, if you are installing a spherical LED shaped screen in the atrium of a shopping mall, you need to determine the diameter and resolution of the spherical screen based on the size of the space in the atrium and the flow of people.
On-site Measurement: Go to the installation site for accurate measurement, including the size, angle, height and load-bearing capacity of the installation location. For some special installation environments, such as curved walls, columns, etc., it is necessary to use professional measuring tools for three-dimensional measurements to ensure the accuracy of the design. For example, in the installation of curved LED screen, you need to accurately measure the radius of the arc, radian and other parameters in order to customize the appropriate frame structure.
2. Structure erection
Making the frame: according to the design drawings, make the frame structure of the shaped LED screen. The frame material is usually steel or aluminum alloy, with sufficient strength and stability. For the complex shape of the shaped screen, you may need to use special processing technology, such as bending, welding, etc., to ensure the accuracy and firmness of the frame. For example, to make a wave-shaped LED screen frame, the steel needs to be bent and processed according to the shape of the wave, and welded to fix it.
Installation bracket: install the made frame to the predetermined position. If it is wall-mounted installation, you need to install a fixed bracket on the wall; if it is suspended installation, you need to install a suspended bracket on the ceiling. The bracket must be installed firmly and reliably to withstand the weight and external force of the shaped LED screen. At the same time, pay attention to the level and verticality of the bracket to ensure the installation accuracy of the shaped screen.
3. Screen installation
Selection of LED modules: shaped LED screen generally use soft modules or special shaped modules, these modules have the characteristics of bendable and splicable, which can adapt to the shape of the shaped screen requirements. According to the design scheme to choose the appropriate LED module, including pixel pitch, color, brightness and other parameters.
Module installation: Install the LED module onto the frame structure according to the predetermined shape and layout. During the installation process, pay attention to the position and angle of the modules to ensure that the splicing between the modules is tight and flat. Usually connectors or wires are used to connect the modules, when connecting, make sure the connection is firm and the signal transmission is stable.
4. Connecting power and signal lines
Wiring planning: According to the layout and control requirements of the shaped LED screen, plan the wiring scheme for power and signal lines. When wiring, try to avoid line crossing and winding, and consider the length and direction of the line to reduce signal attenuation and power loss.
Connection line: Connect the power line and signal line of LED module to the control system or main controller. The power supply line should be connected to a stable power supply device, and the signal line should be connected to the correct signal input port. Pay attention to the polarity of the line and the type of interface when connecting to ensure the correct connection.